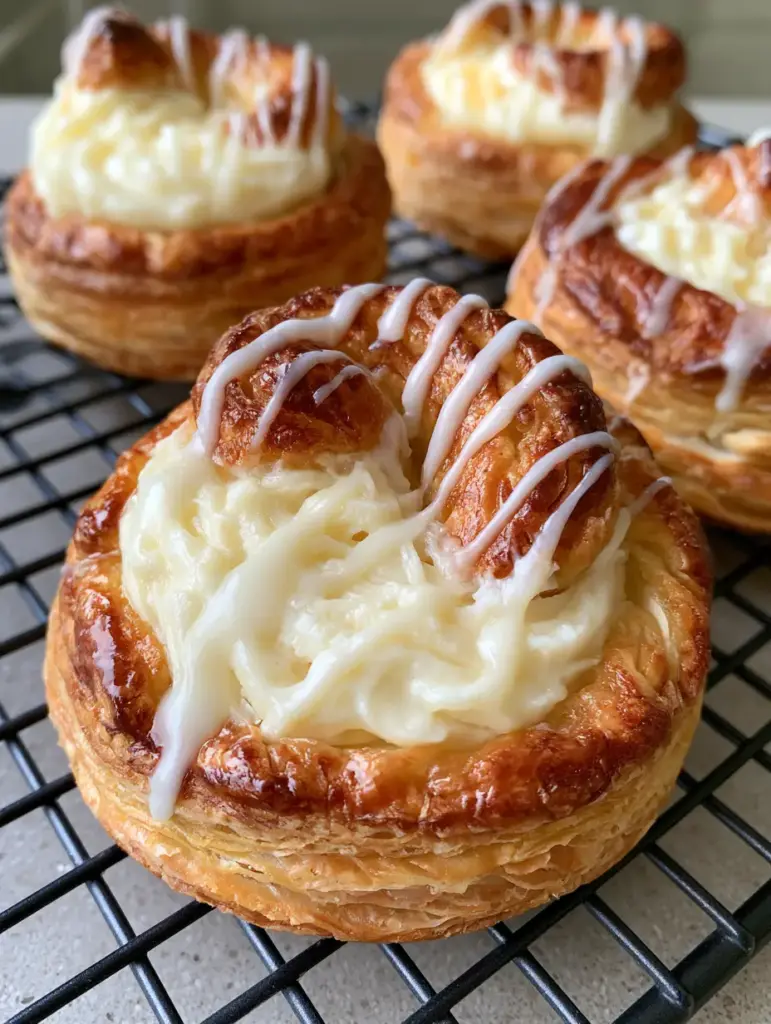
The Mini Cheese Danish is the ultimate morning indulgence, combining the buttery, shattering crispness of multi-layered puff pastry with a center of thick, velvety sweetened cream cheese. There is something truly magical about a handheld pastry that looks like it stepped out of a high-end Parisian boulangerie but was actually whipped up in your own kitchen in under 40 minutes.
When you pull these Mini Cheese Danish treats out of the oven, the deep golden brown edges and the aroma of toasted butter will instantly draw everyone to the kitchen. Whether you are hosting a brunch or just looking for a sweet treat to pair with your morning coffee, this recipe delivers professional results with minimal effort. This is the exact kind of recipe that makes followers stop scrolling on Pinterest to hit that ‘Save’ button immediately.

Why These Are the Best Flaky Cheese Pastries
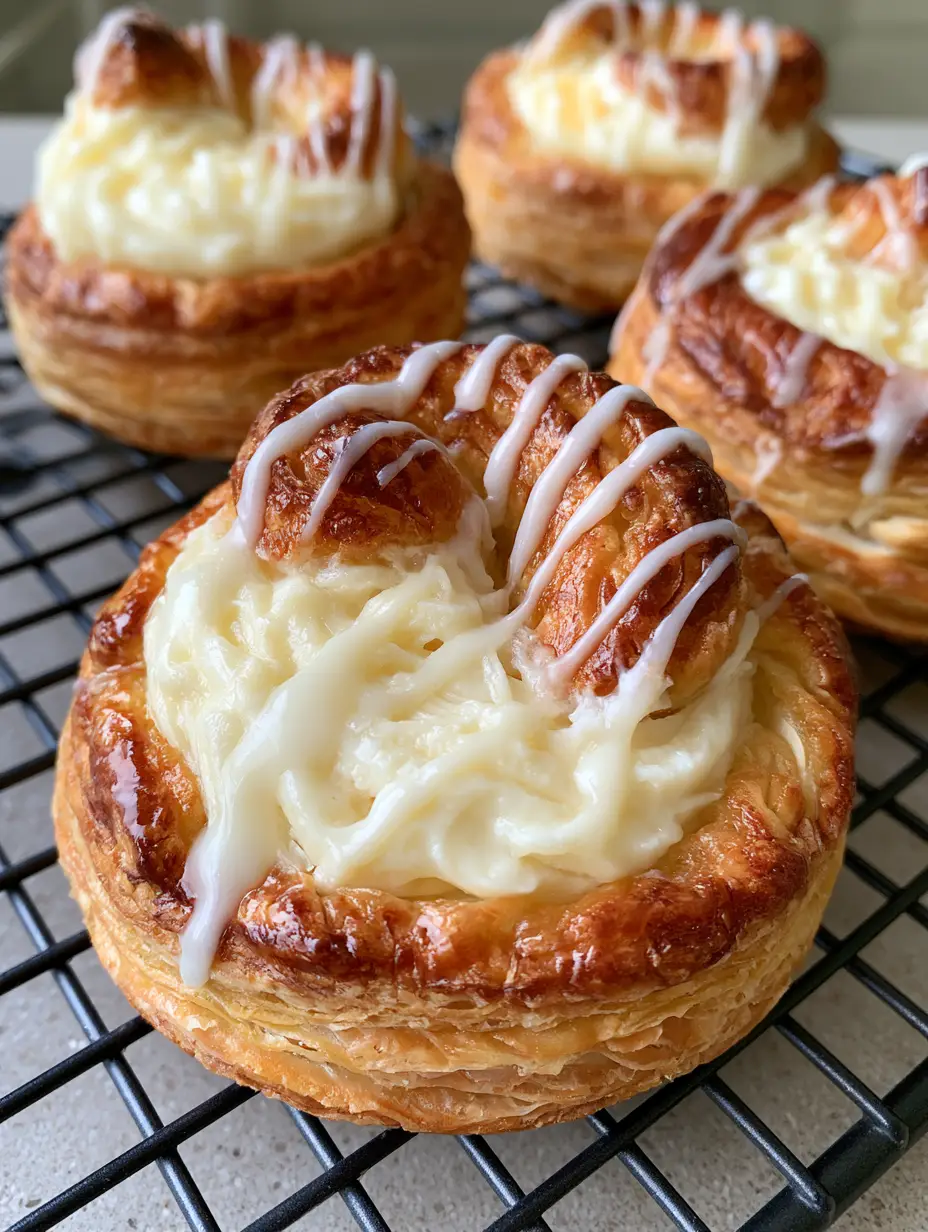
- Visual Perfection: Every Mini Cheese Danish features a circular, multi-layered crust baked to a deep, stunning golden brown.
- Textural Contrast: You get the crunch of the buttery pastry layers against the smooth, thick, and creamy white sweetened filling.
- The Signature Drizzle: A thin, translucent white sugar glaze is drizzled in a professional zig-zag pattern, adding just the right amount of sweetness.
- Pinterest-Ready: These pastries look incredible on a black wire rack, catching the natural daylight for that perfect handheld food photo.
If you love these sweet treats, you might also enjoy my lemon blueberry butter swim biscuits for another buttery breakfast win!
The Essential Ingredients for Bakery-Quality Danishes
To achieve the specific texture and flavor of a professional Mini Cheese Danish, each ingredient plays a critical role in the culinary science of the bake.
The Pastry Foundation
Frozen Puff Pastry: You will need 1 package (17.3 oz / 490g) of high-quality puff pastry. This provides the multi-layered, flaky architecture. Ensure it is thawed but still cold to the touch to keep the butter layers intact.
Egg Wash: One large egg beaten with 1 tablespoon (15ml) of water. This is the secret to achieving that deep golden brown finish specified in our visual blueprint.
The Sweet Cream Filling
Cream Cheese: 8 ounces (225g) of full-fat brick cream cheese, softened to room temperature. This creates the thick, smooth, and creamy white center.
Granulated Sugar: 1/4 cup (50g) to sweeten the filling without making it runny.
Vanilla Extract: 1 teaspoon (5ml) for that classic bakery aroma and depth of flavor.
Lemon Juice: 1/2 teaspoon (2.5ml) to provide a subtle tang that balances the richness of the cheese.
The Translucent Zig-Zag Glaze
Powdered Sugar: 1/2 cup (60g) sifted to ensure a smooth, translucent finish.
Heavy Cream or Milk: 1-2 tablespoons (15-30ml) added slowly until the perfect drizzling consistency is reached.
After a savory breakfast, these danishes are the perfect follow-up to a hearty no-peek chicken casserole dinner.
How to Make a Perfect Mini Cheese Danish
Step 1: Preparing the Creamy Center
In a medium mixing bowl, combine the softened 8 oz (225g) cream cheese, 1/4 cup (50g) granulated sugar, 1 tsp (5ml) vanilla, and 1/2 tsp (2.5ml) lemon juice. Beat the mixture on medium speed until it is completely smooth and free of lumps. It should be thick and hold its shape easily.
Step 2: Shaping the Puff Pastry
Unfold your thawed puff pastry onto a lightly floured surface. Use a 3-inch (7.5cm) circular cutter to stamp out rounds. To create the “well” for the filling, use a slightly smaller cutter or a glass to gently indent a smaller circle in the center of each round, being careful not to cut all the way through.
Pro Tip: Scoring the inner circle prevents the center from puffing up too much, keeping the cream cheese mixture neatly in place while the outer edges rise into flaky layers.
Step 3: Assembly and The Egg Wash
Place the pastry rounds on a parchment-lined baking sheet. Spoon about 1 tablespoon (15ml) of the cream cheese mixture into the center of each round. Using a pastry brush, apply the egg wash generously to the exposed pastry edges. This is what guarantees that deep golden brown, buttery finish.
Step 4: The Golden Bake
Bake in a preheated oven at 400°F (200°C) for 15-18 minutes. Watch for the visual cue: the pastry should be multi-layered and deep golden brown, while the center remains a thick, smooth creamy white.
Transfer the Mini Cheese Danish to a black wire rack to cool. Cooling is essential so the glaze doesn’t melt immediately upon contact.
Step 5: The Signature Glaze Drizzle
Whisk the powdered sugar and cream together until smooth. Using a spoon or a small piping bag, drizzle the icing in a rapid zig-zag pattern across the top of each cooled pastry. The glaze should appear translucent white against the dark golden pastry.
For more easy baking ideas, check out my crispy mustard roasted potatoes which use similar high-heat roasting techniques!
Expert Tips for Pinterest-Perfect Results
- Keep it Cold: If the puff pastry gets too warm, the butter melts and you lose those flaky layers. If it feels soft, pop it in the fridge for 10 minutes before baking.
- Sift the Sugar: Always sift your powdered sugar for the glaze to avoid tiny white lumps that ruin the translucent look.
- Don’t Overfill: Too much cream cheese will weigh down the pastry and prevent it from rising properly.
- Natural Light: For the best photos, place your wire rack near a window during the day to capture the buttery textures without harsh shadows.
How to Store and Reheat Your Danishes
The Mini Cheese Danish is best served fresh, but you can store leftovers in an airtight container in the refrigerator for up to 3 days. To regain that “just baked” crunch, reheat them in a 350°F (175°C) oven or air fryer for 3-5 minutes. Avoid the microwave, as it will make the puff pastry soggy.
You can also freeze the unbaked, filled pastries. Simply bake from frozen, adding 3-5 minutes to the total baking time.
What to Serve with Mini Cheese Danish
These sweet pastries are versatile! Serve them alongside a savory kielbasa potato casserole for a full family brunch. They also pair beautifully with fresh fruit or even a side of grilled pineapple for a tropical twist.
If you’re looking for a cozy evening meal before your morning danish, my lasagna soup is a reader favorite that satisfies every time.
Frequently Asked Questions
Yes! You can add a fresh raspberry, a slice of strawberry, or a teaspoon of jam on top of the cream cheese mixture before baking for a fruity variation.
It is not recommended. Full-fat brick cream cheese provides the necessary thickness and richness to stay in place. Low-fat or tub cream cheese may become too runny during baking.
The key is the ratio of heavy cream to powdered sugar. Start with a small amount of liquid and whisk until just pourable. The glaze naturally sets into a translucent finish as it dries.
This usually happens if the pastry became too warm before baking, causing the butter to melt into the dough. Always keep your puff pastry cold until it goes into the preheated oven.
The Ultimate Mini Cheese Danish Recipe

Mini Cheese Danish Recipe: Easy Flaky Pastry with Sweet Cream Filling
Ingredients
Equipment
Method
- In a medium bowl, beat the softened cream cheese, granulated sugar, vanilla, and lemon juice until smooth and creamy.
- Cut the puff pastry into 12 circles using a 3-inch cutter. Score a smaller circle inside each to create a border.
- Place circles on a baking sheet and spoon the cream cheese mixture into the center of each.
- Brush the outer edges of the pastry with the beaten egg wash to ensure a deep golden brown bake.
- Bake at 400°F (200°C) for 15-18 minutes until the edges are multi-layered and deep golden brown.
- Cool on a black wire rack. Whisk the powdered sugar and cream, then drizzle in a zig-zag pattern over the cooled pastries.
Notes
Use a piping bag for the glaze to get a cleaner zig-zag look.
Join the Community!
I would love to see how your Mini Cheese Danish turned out! Please save this recipe to your Pinterest Breakfast Board so you never lose it. If you made these today, upload a photo in the comments and let me know how they tasted. Don’t forget to leave a 5-star rating below to help other home cooks find this flaky, buttery delight!
Follow amy_chef for more daily recipe inspiration and professional kitchen secrets!