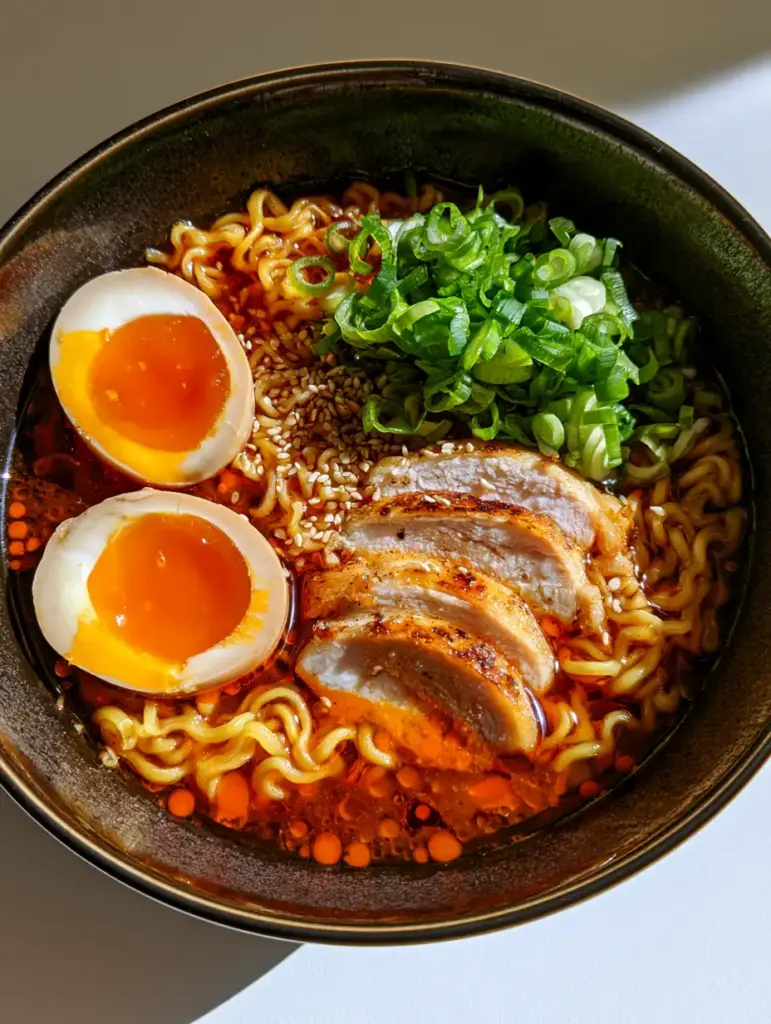
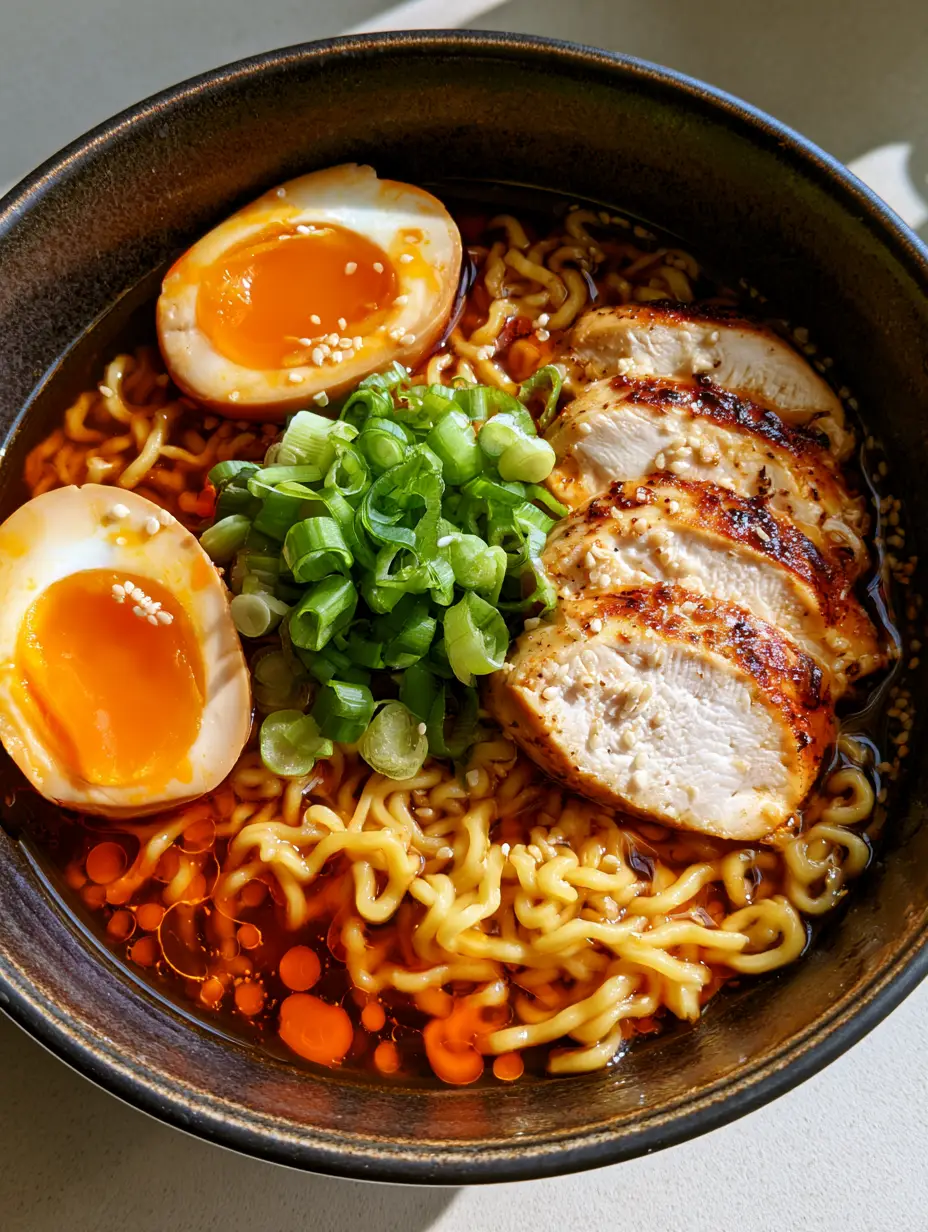
Homemade Ramen Recipe enthusiasts know that there is a profound difference between a quick instant cup and a labor-of-love bowl crafted in your own kitchen. This recipe delivers a restaurant-quality experience, featuring a deep reddish-brown savory broth, perfectly curly yellow noodles, and the iconic jammy soft-boiled egg that defines the genre. Whether you are seeking comfort on a rainy day or looking to master the art of Japanese-inspired cuisine, this bowl hits every note of umami, heat, and texture.
Why You Will Crave This Savory Homemade Ramen Recipe
- Visual Masterpiece: The contrast between the dark ceramic bowl and the bright orange jammy yolks makes this dish an instant Pinterest favorite.
- Textural Harmony: We combine wavy yellow noodles with the snap of fresh scallions and the crunch of toasted white sesame seeds.
- Maillard Perfection: The seared chicken breast provides a golden-brown crust that adds a smoky dimension to the rich broth.
- Adjustable Heat: A final orange chili oil drizzle allows you to control the spice level while adding beautiful visual droplets to the surface.
If you enjoy exploring deep, liquid-based comfort foods, you might also find yourself gravitating toward a classic miso soup recipe or even a hearty lasagna soup for those colder nights. But today, we are focusing on the complex layers of this specific ramen build.
The Ultimate Pantry List for Homemade Ramen Recipe Success
To achieve that signature reddish-brown savory broth, we aren’t just using stock; we are building a foundation of aromatics and fermented pastes. Here is what you need for this Homemade Ramen Recipe:
The Broth Foundation
- 4 cups (950ml) Chicken Stock: Use high-quality low-sodium stock to control the salt levels.
- 2 tbsp (30ml) Soy Sauce: Provides the salt and the dark color.
- 1 tbsp (15g) Red Miso Paste: This is the secret to the reddish-brown hue and intense umami.
- 2-inch (5cm) Fresh Ginger: Sliced into rounds to infuse the liquid with warmth.
- 4 cloves Garlic: Smashed to release essential oils.
The Protein & Toppings
- 1 lb (450g) Chicken Breast: Sliced thin and seared until the edges are golden-brown.
- 2 Large Eggs: Essential for those soft-boiled jammy egg halves.
- 2 packs (approx. 300g) Fresh or Dried Curly Ramen Noodles: Look for “alkaline” noodles for that specific yellow color and chew.
- 3-4 Scallions: Thinly sliced for a fresh, sharp finish.
- 1 tbsp (15ml) Orange Chili Oil: For the finishing orange chili oil drizzle.
- 1 tsp (5g) Toasted White Sesame Seeds: For a nutty aroma and visual detail.
Step-by-Step: Crafting the Perfect Bowl of Ramen
Follow these steps carefully to ensure your Homemade Ramen Recipe looks exactly like a professional food photograph. The sequence is vital for serving everything at the optimal temperature.
1. Developing the Reddish-Brown Broth
In a large pot, combine your chicken stock, ginger, and smashed garlic. Bring to a gentle simmer. Do not boil aggressively, as this can make the broth cloudy. Whisk in the red miso paste and soy sauce until fully dissolved. The liquid should take on a deep, inviting reddish-brown color. Let this steep on low heat for at least 20 minutes while you prepare the other components.
2. The Science of the Jammy Egg
Bring a small pot of water to a boil. Gently lower the eggs into the water using a slotted spoon. Boil for exactly 6 minutes and 30 seconds. Immediately transfer them to an ice bath for 5 minutes. This stops the cooking process, leaving you with bright orange jammy yolks that are thick and custardy rather than runny.
3. Searing the Chicken Breast
Season your chicken breast slices with a pinch of salt. Heat a drizzle of oil in a heavy skillet over medium-high heat. Sear the chicken for 3-4 minutes per side. You are looking for golden-brown edges that provide a textural contrast to the soft noodles. Once cooked, set aside to rest for a few minutes before slicing into thin strips.
If you love the technique of searing meat for flavor, you’ll see similar principles in making a hamburger steak with onion gravy. The caramelization is where all the flavor lives!
4. Preparing the Curly Yellow Noodles
Cook your curly yellow ramen noodles according to the package instructions, but aim for “al dente.” They will continue to soften slightly once submerged in the hot broth. Drain them well and divide them between two dark ceramic bowls.
5. The Final Assembly
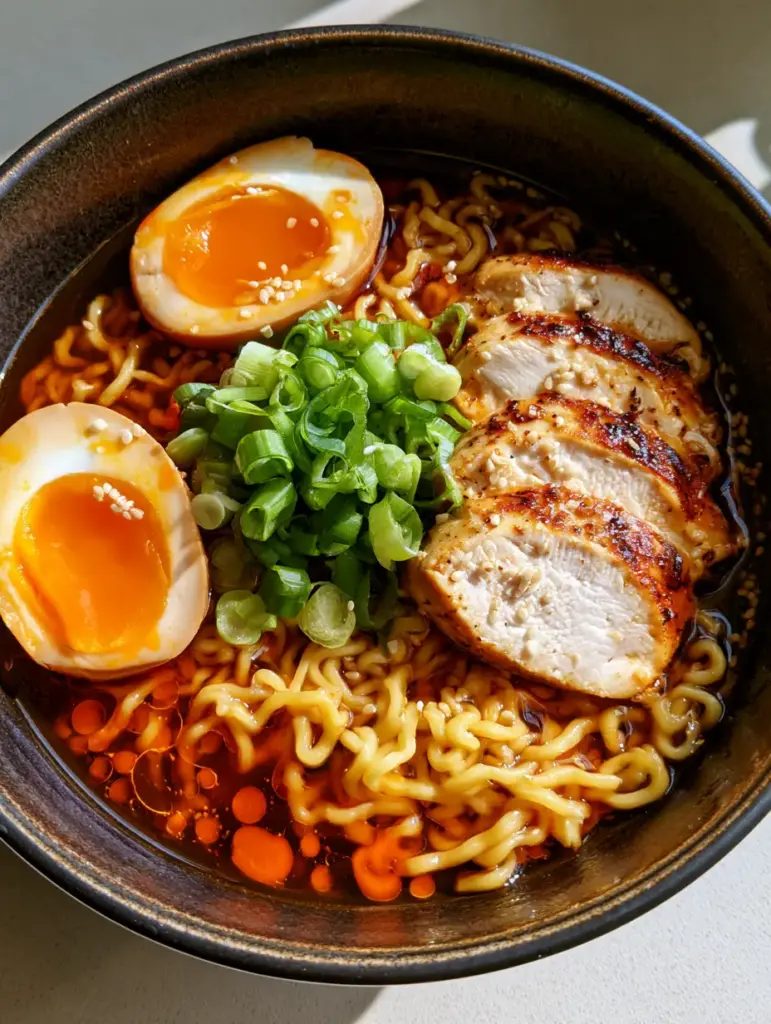
Ladle the hot, strained broth over the noodles. Place the seared chicken breast slices on one side. Carefully peel the eggs, slice them in half to reveal the orange jammy yolks, and nestle them into the broth. Add a generous heap of sliced fresh scallions in the center. Finish the dish with a sprinkle of toasted white sesame seeds and a precise orange chili oil drizzle across the surface.
Expert Tips for Success
- The Ice Bath is Non-Negotiable: If you leave the eggs to cool on the counter, the residual heat will cook the yolks through, losing that “jammy” Pinterest-perfect look.
- Strain Your Broth: For a professional finish, pour your broth through a fine-mesh sieve before serving to remove the ginger and garlic bits.
- Temperature Control: Warm your dark ceramic bowls with hot water before adding the noodles to keep the meal hot for longer.
- Noodle Timing: Always cook the noodles last. If they sit too long, they lose their “wavy” structure and become gummy.
Looking for a side dish? While ramen is a meal in itself, a side of roasted brussels sprouts can add a nice earthy balance to the meal.
Storage, Reheating & Freezing
Storage: If you have leftovers, store the broth, noodles, and toppings in separate containers. If you store the noodles in the broth, they will absorb all the liquid and turn into mush overnight.
Reheating: Reheat the broth on the stove until boiling. Place the cold noodles in a bowl and pour the boiling broth over them; this will heat the noodles without overcooking them. The chicken can be lightly seared again or microwaved briefly.
Freezing: The reddish-brown savory broth freezes beautifully for up to 3 months. However, do not freeze the noodles or the jammy eggs.
What to Serve With This Homemade Ramen Recipe
Ramen is incredibly rich, so it pairs best with light, acidic, or crunchy sides. Consider a simple cucumber salad with rice vinegar, or if you want to keep the “crunch” theme going, some crispy mustard roasted potatoes offer a Western twist on the side-dish experience. A cold glass of green tea or a light Japanese lager also complements the salt and spice of the broth perfectly.
Frequently Asked Questions
Yes, you can use dried curly ramen noodles. Just ensure they are ‘alkaline’ style to maintain the correct yellow color and chewy texture.
The key is using fresh aromatics like ginger and garlic, and letting the broth steep on low heat so the miso and soy sauce fully integrate without boiling off.
For the perfect bright orange jammy yolk, boil large eggs for exactly 6 minutes and 30 seconds before shocking them in an ice bath.
The reddish-brown color typically comes from a combination of red miso paste and high-quality soy sauce simmered with chicken stock and aromatics.
To get golden-brown edges, ensure your skillet is preheated to medium-high and don’t overcrowd the pan, which causes the chicken to steam rather than sear.
Ready to Serve Your Homemade Ramen?
Homemade Ramen Recipe: The Ultimate Guide to a Rich, Savory Bowl
Ingredients
Equipment
Method
- Combine stock, miso, soy sauce, ginger, and garlic in a pot. Simmer for 20 minutes to develop a reddish-brown savory broth.
- Boil eggs for 6 minutes and 30 seconds, then immediately shock in an ice bath to achieve orange jammy yolks.
- Season chicken and sear in a hot skillet until golden-brown edges appear and center is cooked through.
- Place cooked noodles in bowls, add broth, and top with chicken, egg halves, scallions, sesame seeds, and chili oil.
Notes
Always store noodles and broth separately to prevent sogginess.
Share Your Ramen Creation!
Did you master the Homemade Ramen Recipe? We want to see those jammy eggs! Please save this recipe to your favorite Pinterest board so you never lose it. If you made this dish, follow amy_chef for more culinary inspiration, leave a 5-star rating in the comments below, and upload a photo of your bowl. Nothing makes us happier than seeing your kitchen successes!